Fabrication of a Bike Navigation Module Prototype

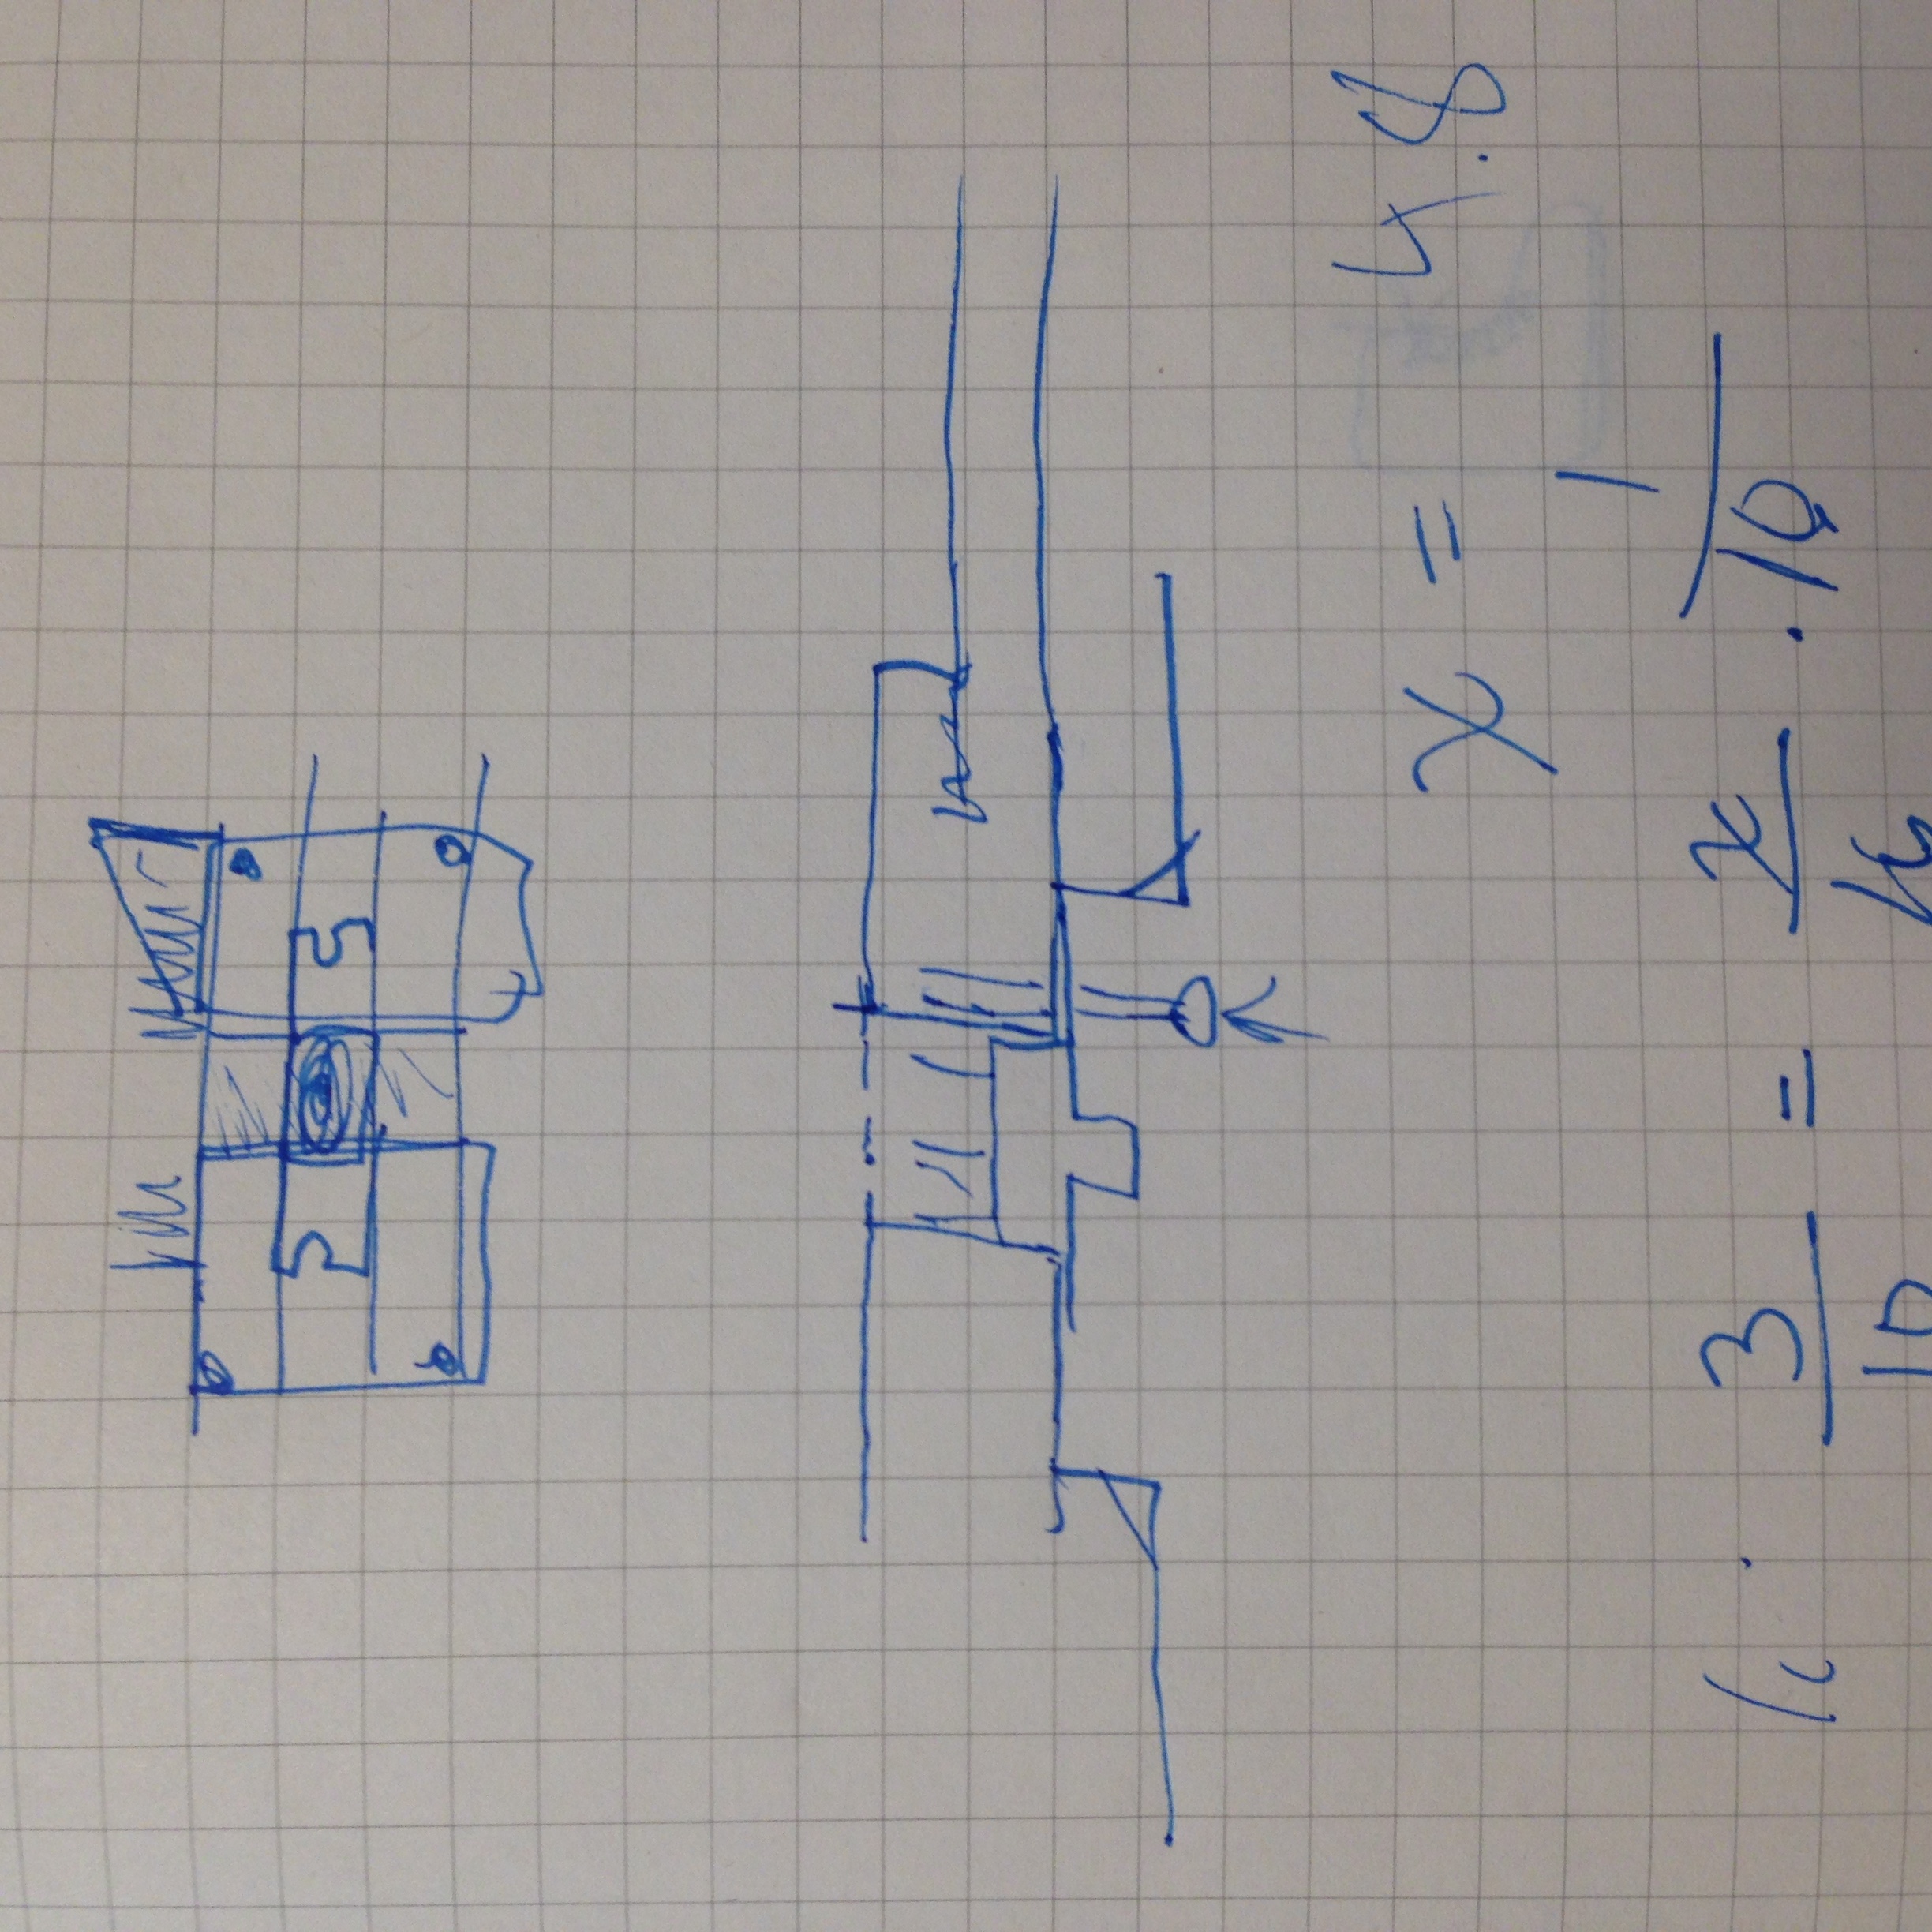
This is a prototype enclosure for the Haptec Bike Navigation System I am presenting with my team for the ITP Winter Show.  The angular design fits well inside a bike frame and suggests forward motion and directionality. 

IMG_2539.JPG

Some features: an inset & interior support for a power switch.  Slots for straps to affix to the bike & I'm especially pleased with the pressfit insets for ceramic disc magnets for the removable lid.   

The circuit design is still in process so more openings for a battery charger and a bluetooth module are in order.  

Things I would do differently or will do further: create contoured layers to constrain the interior components/circuit as well as external contours to acommodate the main bike frame bar this will enclosure hang from. 

This design is an improvement on a few previous prototypes and is based on/related to the LED circuit enclosure. 


Fabricating Multiples

Since I was moving the week of this assignment I built five identical shelves for my new apartment using poplar from Home Depot and copper plumbing pipes and 90 degree couplers.  Copper pipe brackets for attaching to the wall. 

In retrospect I would not have selected poplar - I chose it because it was cheaper than the nicer red oak and because I wanted to try something different from pine.  I should have chosen either of the other options as sanding and planing the poplar only seemed to increase the furry stack-of-construction-paper feel.  I didn't give the wood a finish because it seemed hard to imagine it ever being nice - seems too pithy for my taste.  I plan to paint it with a high gloss before installing the shelves. 

I enjoyed the monotony of measuring out the poplar to be even, and discovering the pipe cutter was a delight - so easy.  I used the drill press, the mitre saw, the rotary sander, block sander, handheld sander and a nice planer lent to me by a classmate with a furniture design background.  I never knew about the joys of planing— very satisfying.  

Materials + Fasteners

I used found materials around the shop - a VCR head I pulled from an old unit on the junk shelf and a piece of red oak from the scrap wood. 

I used a circular saw bit in the drill press and did a kind of medieval cartoon to get the screw holes accurately.   I used the rotary sander to shape the wood and a Dremmel to make sure that the head's spinning pieces would have enough room to spin. 


Things I would do differently: 

I wanted to inset the head more into the wood - possibly at an angle but I didn't give myself enough time to ask someone for a router tutorial which would have been a better choice. 

I should have given myself time to scan the bottom of the head and then create an illustrator file to laser etch the screw positions into the wood too.  I like the VCR head enough as an objet that I might redo this the correct way. 

I also need to find the exact gauge machine screw to secure the head evenly. 


Fabrication Is Difficult to Do Well, or, A Trash Can Lamp.

I wanted to make a beautiful cylinder of sanded, polished wood, shorter than it was wide, into a battery powered lamp, turning our first fabrication project of creating a duct-taped circuit-style flashlight on its head and instead create something of quality, with heft. Grace of form.  A spare Noguchi-inspired shade. Underneath concentric rings of delicate pink, amber, blue gels. 

...So...didn't turn out like that.  I looked for turning wood for too long without succeeding in buying anything.  Also turns out I needed to know how to lathe and I don't. Yet.

I decided to prototype the form. 

I used a clear acrylic pipe-coupler-type cylinder.  It didn't occur to me to have them cut it there. I spent a lot of time on, and needed help, using a hacksaw and handscrew clamps to do it myself - it was brittle.  Rotary sanding the ends was interesting.  In trying to drill a hole to accommodate the switch I cracked the acrylic tube.  

In switching to a tube from a solid cylinder I realized I needed a good way to hold the circuitry in place. I used a mesh and the rim of an aluminum sieve.  The only aspect of my iteration I favored was the hand-sanding of the acrylic to give it a beach-washed glass look. I also kind of liked the concept I came up with of using netting to cradle the innards.  

If I were to attempt another iteration of this lamp I would start with a foam block and rough it out or I would settle for an imperfect but nicely rounded blob of wood before tackling the lathe.

It was a humbling experience.  Technique, experience, know-how, planning are important. Throwing lots of time and money at something at the last minute is no replacement.